
Make your own Maple Syrup:101

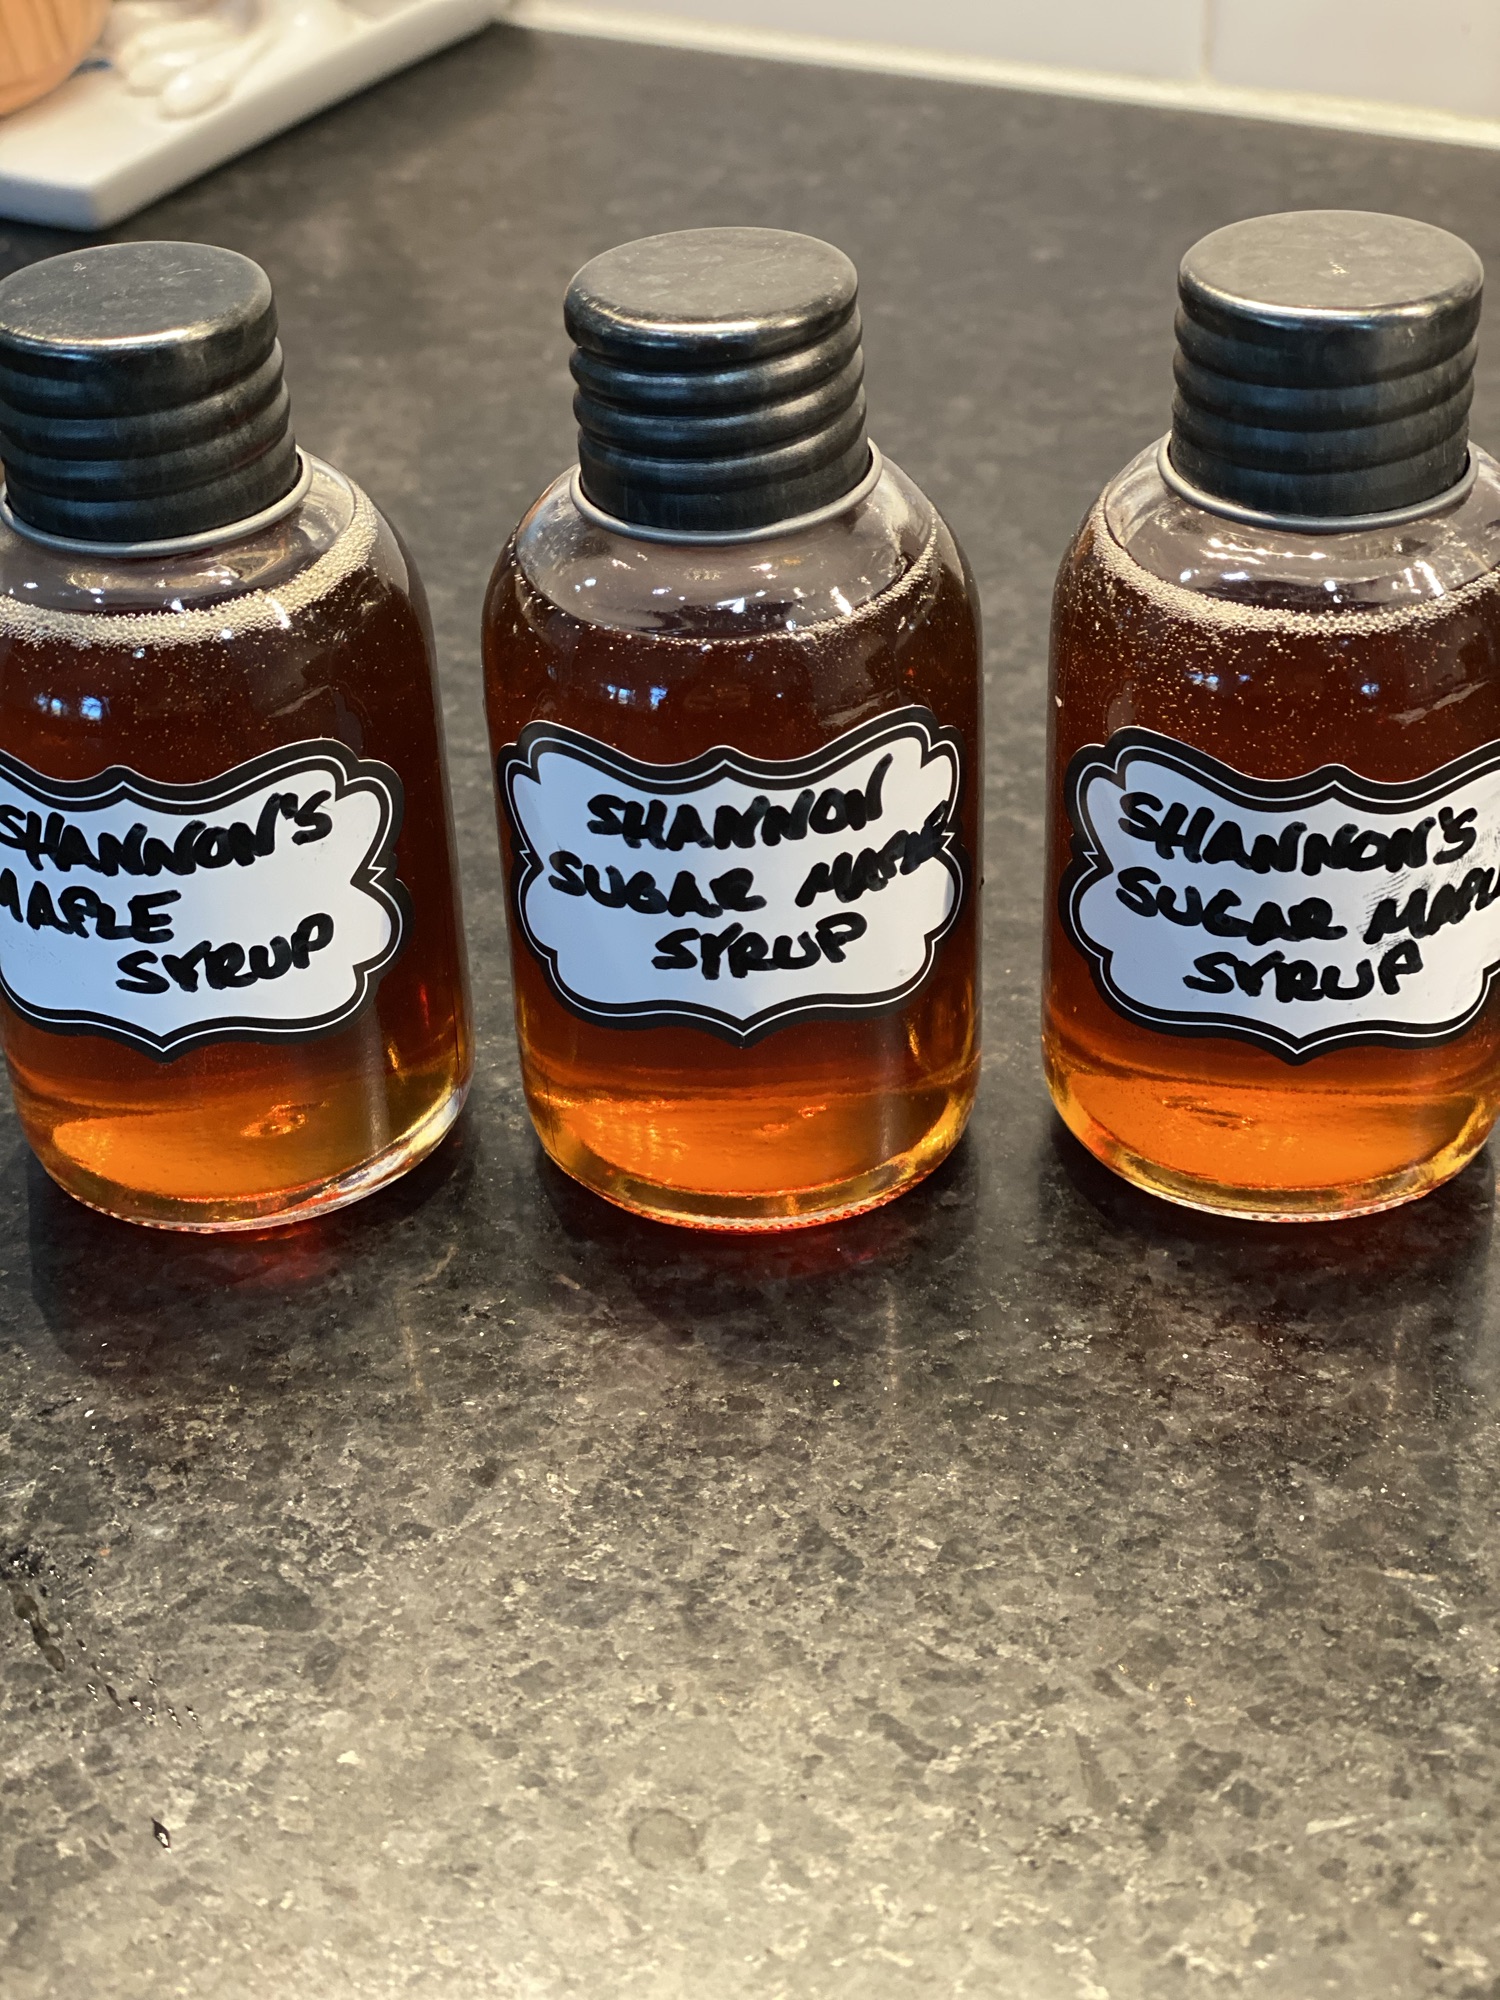
Maple syrup can be made from many species of maple tree. Trees that can be tapped are commonly found in residential/city areas as well as open and rural areas and include: sugar, black, red and silver maple and even box elder trees. Ours were in our own backyard in suburban Ohio & are Supgar Maples!
IMPORTANT: Alternating freeze and thaw temperatures are necessary to create the pressure which causes the sap to flow when the tree is tapped Of all the maples, the highest concentration of sugar is found in the sap of the sugar maple. And don’t fret, we are talking about the GOOD sugar!
(Oh, on another note if the following process is too daunting for you and you’ve a Gatorade or Electrolytes powder addiction fear not…just tap these same trees and drink straight from the spigot! Seriously the clear sap is little to no taste and is unadulterated GOODNESS. If needed add your favorite squeezed fruit or organic sugar to tatse.)
All that being said the full process is not for those with a fast food or “home meal plan service” delivery expectation: Generally the ratio of sap to syrup for the sugar maple is 40 to 1 (40 gallons of sap yields one gallon of syrup). Yes, you did read that correctly! It takes a TON of sap to yield 1 gallon of syrup which is why maple syrup is pricey. Other species of maple have lower concentrations of sugar in their sap. For example; it may require 60 gallons of box elder sap to produce one gallon of syrup.
The Process: What Do I Need:
The tools required for a small maple syrup operation are found in most homes or can be easily obtained. They include:
• Drill (brace) with 7/16″ or 3/8″ drill bit
• Hammer
• Collection containers – plastic buckets, milk jugs, and coffee cans work well
• Large boiling pan (preferably low and broad)
• Candy thermometer make sure you get a CANDY thermometer or I promise it will melt!
• Wool felt or cheesecloth filter material
• Spiles or tapping spouts – Spiles can be purchased or made from 1/2 ” wooden dowels cut to 3 ” lengths.
Timing & Steps of Tapping
- Prep Drill a 1/8 ” (Don’t go too big or too small and you can drill multiple taps in larger trees.) hole through the center of each dowel and taper at one end so the spile will fit snugly into the tree tap hole. A notch should be made on the top of the wide end of the spile to support the sap collection container.
- When to Tap Trees Alternating freeze and thaw temperatures are necessary to create the pressure which causes the sap to flow when the tree is tapped. Sap runs best when temperatures drop below freezing at night and rise into the 40s during the day. In mid-west to east coast these conditions typically occur during the month of March. However, because weather conditions vary somewhat from year to year, and from one location to another, trees can sometimes be tapped as early as mid- February or as late as April. Once temperatures stay above freezing and leaf buds appear, the maple syrup season is over.
- How to Tap Trees Drill a hole in a tree, 2 – 4 feet above the ground. The hole should be drilled at a slight upward angle to a depth of about 3 inches. Use a hammer to lightly tap the spile into the hole. Do not hammer the spile too far into the hole as it may cause the wood around the hole to split – resulting in lost sap flow. Hang a sap container from the spile. It is best to use containers that have a cover on them to keep out rain, snow and other forest debris. Empty sap containers once a day and process sap immediately or store in a cool place out of direct sunlight until you are ready. It is recommended that you have at least ten gallons of sap before you start the evaporating process. Important: Storing your sap- The sap should be stored at a temperature of 38 degrees F or colder, used within 7 days of collection and boiled prior to use to eliminate any possible bacteria growth. If there is still snow on the ground, you may keep the storage containers outside, located in the shade, and packed with snow.


How to Process Sap into Syrup:
To actually make your syrup from maple sap is a simple process of boiling and evaporation and “skimming”. This can be done at home in a “normal” kitchen setting or from the tried and true centuries old process we are showing in the videos and pictures accompanying this piece. It can get messy and the boiling process can produce an not all that pleasant odor. *Also, since large quantities of water will be “cooked off,” most of the boiling should be done outside, preferably over a wood-burning stove.
Pour your sap into a large cooking pan. (A pan with a large surface area will increase the rate of evaporation during the boiling process: the bigger the better.) As the water boils off, add more sap. Take care to add only small amounts of sap at a time to avoid killing the boil. Use a candy thermometer attached to the side of the pan to monitor the temperature of the sap frequently. As the sugar in the sap becomes more concentrated, the temperature of the boiling sap will rise. As you boil, you’ll notice a layer of dense bubbles forming on the surface; these are impurities from the sap. Use your wire sieve to skim these off periodically When the sap darkens and the bubbles become smaller, you are approaching the final stages of boiling. At this point, pour the sap into a smaller pan and continue boiling on your indoor stove. When the temperature of the sap reaches 219 degrees, your sap has become syrup! To finish the syrup making process, strain the hot syrup twice through cheesecloth or felt, pour into jars and refrigerate. For longer storage, you can also use mason jars and can the syrup.
If done correctly after opening, genuine maple syrup should be stored in the refrigerator and will last about a year. Opened jugs of imitation maple syrup can be stored in the pantry for about a year (why b/c of all the added preservatives…yuck!). This homemade kind may not last as long but is 100% organic with no additives or preservatives! Believe me, you won’t have to worry about it lasting long anyway!!

Leave a Reply